
How to Build a Pool Heater: Essential Tips and Tools
- Leah Hughes
- Sep 21, 2025
- 2 min read
Updated: Sep 25, 2025
Professional pool builders know that learning to build a pool heater requires careful planning and the right approach. This project involves selecting proper materials, using correct tools, and understanding basic heating principles. The process covers everything from choosing stainless steel and copper components to assembling the final unit. Each step requires attention to detail and safety measures. This guide walks you through the complete process from start to finish.
Selecting the Right Materials
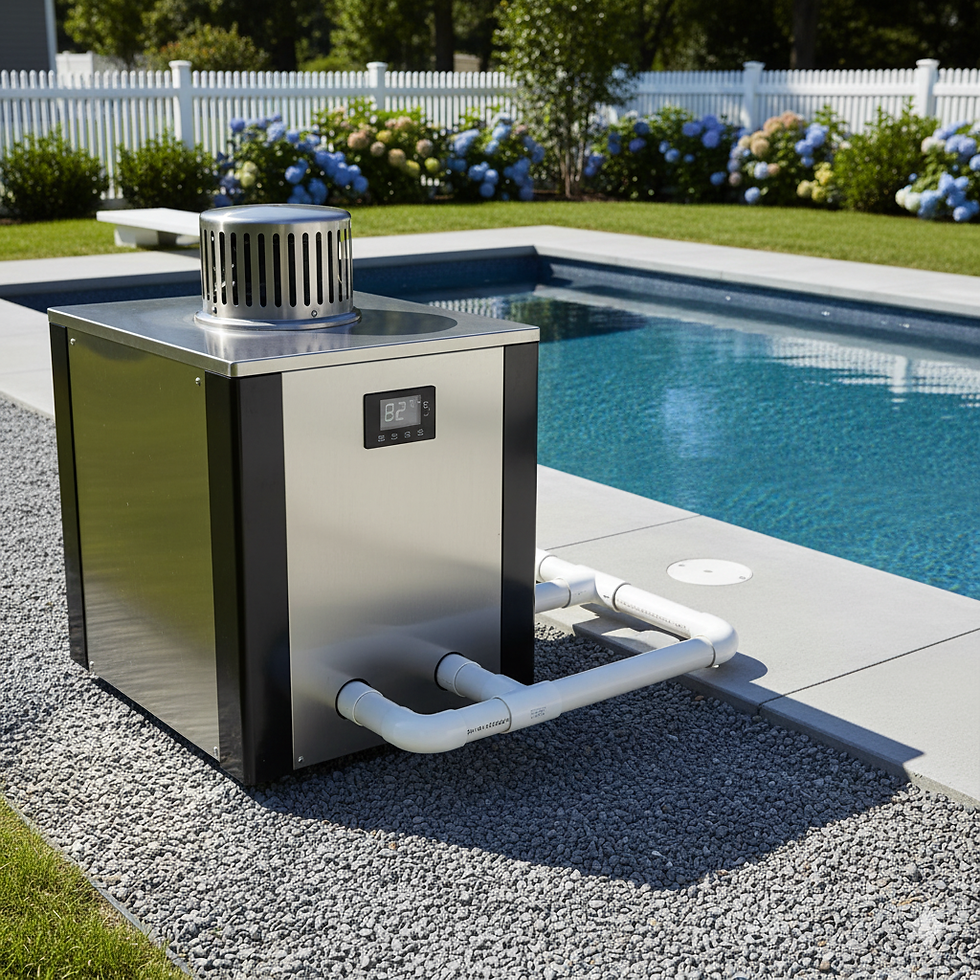
When you build a pool heater, choosing the right materials makes all the difference in performance and lifespan. Stainless steel is the best material for the heat exchanger because it resists rust and can withstand high temperatures effectively. Copper tubing transfers heat efficiently due to its excellent heat-conducting properties. PVC or CPVC piping handles water circulation and resists chemical damage from pool water. These materials work together to create a reliable heating system that lasts for years.
Essential Tools for Construction
Building a pool heater requires specific tools for safe and accurate assembly. A good welding machine joins metal parts securely together. Pipe cutters create clean, precise cuts in metal tubing. A drill with various bits makes holes for fittings and connections. A torque wrench tightens bolts to prevent leaks. You'll also need a pressure gauge, level, and safety equipment like welding gloves and goggles.
Understanding Heat Transfer Principles
Heat moves through your pool heater in three main ways that affect its design:
Conduction: Heat moves through direct contact between materials
Convection: Heat transfers through moving liquids or gases
Radiation: Heat travels through electromagnetic waves
Thermal Conductivity: How well materials conduct heat
Building the Heating Element
The heating element design determines how well your pool heater works. Choose materials with good heat conduction, like copper or stainless steel. Design the element layout to spread heat evenly across your pool. Space heating coils or tubes properly to avoid hot spots. Size and shape the element to match your pool dimensions for the best heating results.
Assembling the Pool Heater
Putting together your pool heater requires careful attention to placement and connections. This step determines how well your finished heater performs:
Positioning the Heating Component: Place the heating part where it can distribute heat most effectively
Securing Connections: Make sure all connections between heating parts, power, and controls are tight and safe
Insulating Components: Add insulation around heating parts to keep heat in and save energy
Sealing Joints: Seal all connections to prevent water leaks and protect the heater
Testing and Maintenance Tips
Regular testing and upkeep keep your pool heater running smoothly for years. Check that the thermostat reads correctly and water flows properly through the system. Look for leaks or rust spots. Monitor pressure levels and clean or change filters when needed. Check electrical parts for wear or damage. Clean heating elements and remove mineral buildup when necessary. Oil moving parts to prevent wear. Schedule yearly professional inspections to catch problems early and keep your heater working efficiently.
Related Topics:


Comments